DAY 19 - Baby needs new shoes and a little help from the little one.
Another week of packages, and other day of building. This week, I received some outstanding parts from Oscar (Zhunter) on the Astromech boards. Some Aluminum Ankle Cylinders, wedges and holders. I also received my 24 volt battery tender, some various Arduino boards and other stuff that I can't recall a short day after I opened them up.
Mom asked me, "How can you remember what you have ? Have you ordered something twice ?"
I replied, "I think I have ordered more paint than I need...." The truth is, I have ordered more than a few things twice. Sometimes to round out a set of something, and more often than not, because I have forgotten that I already have two (or more) sitting in a bin.
For the most part, the duplicates are redundant items that I have collected in my effort to upgrade to all aluminum details. At times, when parts come available on the Astromech parts junkyard, they are not complete sets. In particular, I had two aluminum ankle cylinders that I bought second hand from a member. Later, the ankle cylinder run came up, and I ordered a full set of 4, so that leaved me with two extra. The great thing about these extra parts, is the fact that they can be used as spares, they can readily be sold to other members, or they can be used on a second droid. After all, what am I going to do with all of my time once this guy is finished ? The obvious answer is FISH, but a man has to keep his options open.
So on to the progress form this day of work. It was all about the feet today. I purchased a set of JAG steel feet from BobC who got them from another member on the boards. One of the many suggestions when using the A&A acrylic motor holders is to bolster them up a bit, as the holders were designed to support a (mostly) PVC and ABS droid.
As I add more and more metal to the frame, legs and dome, the poor feet have to bear the brunt of all this added weight.
After a week of sitting on the center leg, caster bracket already showed signs of warping. The wood blocks shown below are used as stand-offs to support the weight of the droid on the center foot.

Here is the topside view. Screw-crazy, I know - but it works, and the center foot is extremely happy now with it's added support system.

Here are the outer foot shells after a good bit of re-work. A couple of issues that were resolved : The detail pieces in the lower left and right were too close to the center. When the Half-moon detail was put on, it was practically touching the detail pieces. The detail pieces were removed and re-drilled and placed in a position more to my liking. I did manage to snap one of the bolts on two of the detail pieces while removing them, so I had to re-fit it with a screw (seen in the lower right). A little bit of bondo and paint, and it will look right as rain. One of the feet also had the top horizontal strip on upside down.... ? That was rectified, and the results are shown in the photos below.

Another (minor) issue with the feet. As these were used on a droid in a previous life, the holes were already cut out and expanded to allow access to the scooter motors. Last week, I put the feet in the legs and left the setup as it was. For the uninitiated, there is a front and back to the feet. The front has a mount for the knurled hose fittings and hoses that extend to the battery boxes. This mount was already in place, as was the strip with the associated holes drilled in it. Again, I put the scooter motor holders in the feet as per the previous setup. The only problem was that the drive wheel was in the front, and the caster was in the back. The video posted last week showed the foot "kicking up" a couple of times, this was because the drive wheel was in front, and the center of gravity was not centered on the entire foot, only on the drive wheel.
Duh - so why don't you just put the left foot on the right, and vice versa ???? Well, the battery box cutout allows the battery box to go on in one direction. So - to flip the foot drive around, I had to drill out new access holes for the hose fittings.
Here is where I got to use my Unibit Step Drill Bit. These things are not cheap, but once in the drill press, they cut through aluminum and steel like butter. This bit was originally purchased to drill the holes in the aluminum blocks for the center foot riser.

Another angle of the outer foot shell with the half moon details installed.

Once the feet were oriented in the correct direction, it came time to mount the battery boxes. These boxes are of the PVC flavor - quite nice and quite light. A couple of screws in the right place, slip into the pre-drilled key slots....

Front view of the foot with the battery box. The screws in the top channel are used to bolt the motor holders to the outer foot. There are additional bolts that hold the scooter motor assembly on the side behind the battery box. The knurled hose fitting strip is a little bit off, and looks MUCH worse in this photo because of the angle. I will most likely make a new set of mounts out of a couple of pieces of aluminum.

One more angle of the shoes.

I think I may have been a little overzealous by getting R2 to walk so early. Now all I want to do it wire him up, and rill him around. Brother Kris saw the video, and wanted to see it in person, so I re-wired all of the power (which was sitting in a bin). I am glad to have this exercise, because with each re-wire and tear-down, I get more familiar with what I do and don't need to do when I finally assemble the final power matrix.
In this go-round, I ran the foot wires through the access channels in the legs. I know, taping the to the sides was cool and all.. but this is the way it has to be done.

Peeking out through the hub at the top of the leg. You can see where I epoxied the lag bolts into the leg. I am not 100% sure that this was the best idea, but there it is in all it's two-part-quick-set goodness.

The bottom of the leg showing the ankle modification where the holes were dropped to allow the feet to sit at the correct angle. Oak dowel/plug for reinforcement. Another "not 100% sure" item... these PVC legs. They seem to be fine now, but I have my wood legs on deck in case I think they would be more properly suited to support R2's ever growing weight.

Full on leg shot with all of the aluminum goodies. Still not sure the shoulder hydraulic is upside down or not, will have to check reference photos. I still have to switch the shoulders around. Even though the shoulders swapped positions throughout the movies, I like the two button to be in front. Again, not as easy as putting the left on the right and the right on the left. The holes that match up to the mounting pins are different on both shoulders, so they will have to be re-drilled. If I knew what I was doing early on (not even sure I have any clue at this point) I would have paid more attention to the direction of things. Seems like whatever I do turns out 180 degrees from what it should be.

Close-up of shoulder with all of the aluminum detail goodness.

Full leg complete and ready to roll.

A shot from the back showing feet and battery boxes assembled.

Closer view of the battery boxes from the rear. Notice the openings for the knurled hose fittings in the rear. These are the holes drilled by the previous owner. These will be covered by a solid aluminum detail strip, so no worries about filling, sanding and fixing.

Close-up of the foot with the aforementioned ankle cylinders, wedges and holders. Dang - they look pretty.

While working on this project at Mom and Dad's, there is the benefit of A: Dad's workshop, B: more room than I have at home, C: an audience of people to show off my handy work.
One exception... we have a "no-neck monster" (nephew Kaden) that creeps around the house on any given weekend. Up until now, he has not been granted access to the inner sanctum. A baby gate has held him at bay. In the past he would walk up to the gate to say "Hi" to Uncle Dott, with little to no interest to what I was doing. At his age, my old Hot Wheels and Brady's old Thomas the Tank Engine toys are in vogue.
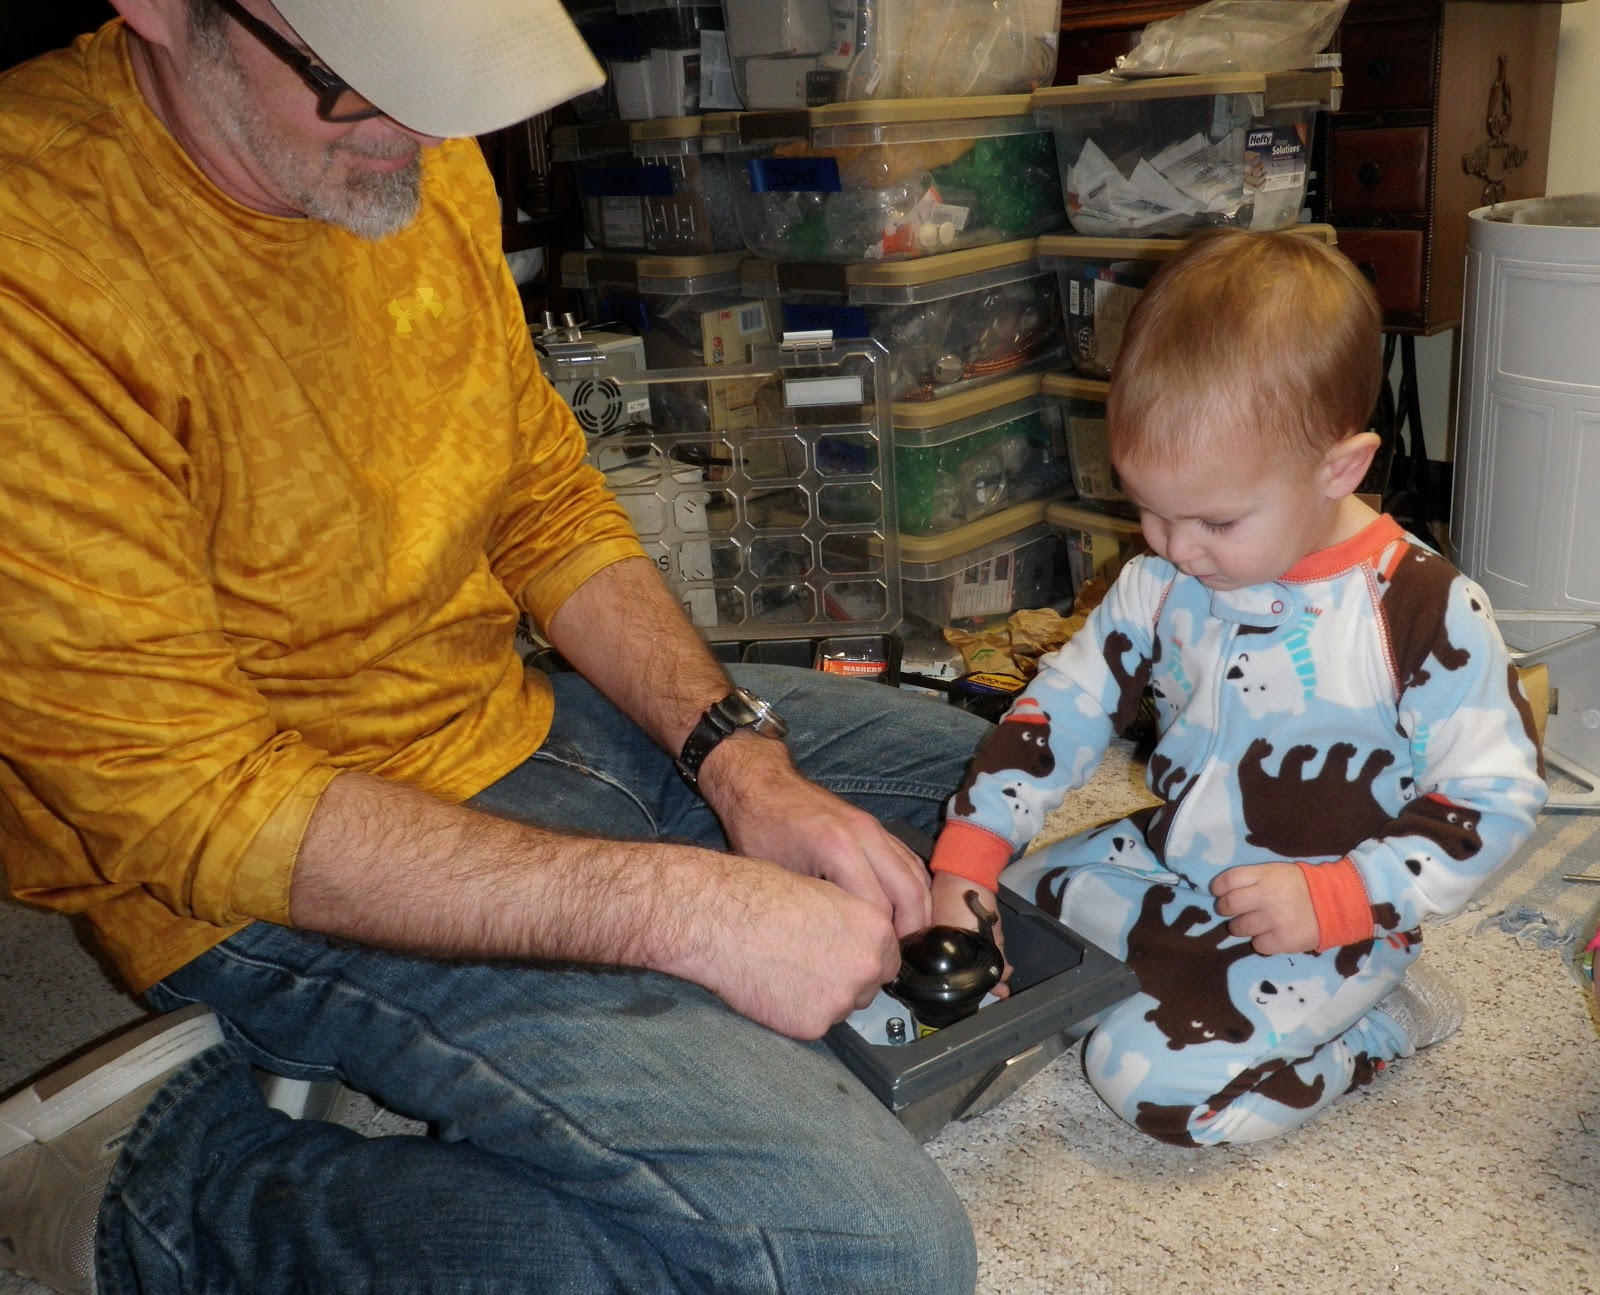
Well, last night, after his bath, Gramma Jean brought him down to say goodnight. He came right over and plopped down next to me. He kept saying "Boat, Boat". The center foot when upside down looks a lot like a wooden Noah's Ark that he plays with. He is well into mimic mode as of late, and he picked up a wrench to help me with my build.

The little Foreman giving Uncle Dott a few pointers.

Then showing Uncle Dott how to sling a wrench proper.
Just beside himself with another job well-done.

Thank you Kaden - without your help this would not have been possible. Here is the Center foot all assembled with the ankle cylinders in place.

Another angle showing off my lack of attention to detail at this stage. Indeed one of them if off kilter a bit.

Another week of research turned up this little gem for sound in R2. A Bose Soundlink bluetooth speaker and an ipod app called ReSounder Pro. The ReSounder Pro app allows you to create unlimited custom soundboards. I have over 200 R2 sounds that can be organized into custom soundboards based on the mood they portray. This app can also fire off a playlist of sounds so he can chip and chortle away at random.
The bluetooth range seems pretty darned good as of now. I was triggering sounds form upstairs well past the advertised 30 foot range of the bluetooth signal. We will see what happens once R2 is fully skinned and has a bit more juice flowing through him.
I have a bluetooth range extender on back-order that extends the bluetooth signal to an advertised 300 feet. Looking forward to seeing this in action.

Here is another video showing R2 wandering about the confines of the basement. I wanted to see Kaden's reaction to the droid in motion. He seems relatively disinterested, as I am not sure he even knew what he was looking at. One thing for sure, he did not want to get close to him....
All in all, another good day at the remote production facility. It is coming time that I concentrate on getting the dome together, and start getting some finishing touches on the legs and body so they can get some paint on them.
Stay tuned for more fun.
No comments:
Post a Comment