As I wait for a few parts to arrive, I find that I have stalled a little in my progress. It is not a matter of having "nothing" to do until these parts arrive, I just don't know what to do in the meantime.
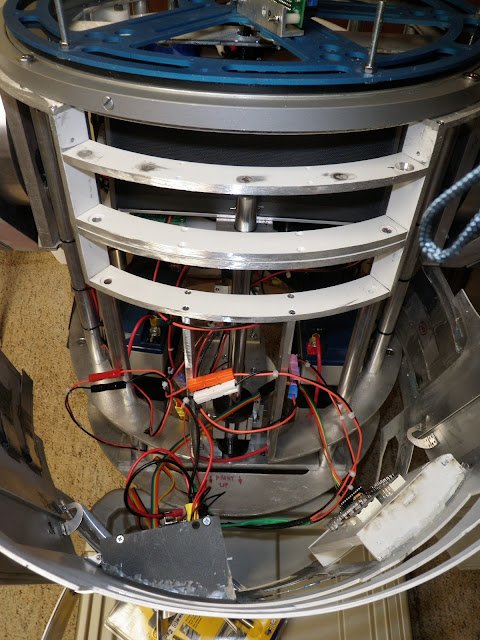
So.... I played around with the "ights" a little on the front of the main body, trying to get the charge bay indicator lights working. On the CBI, there is a red, amber and green light that should show the status of the battery. Currently, the only light that is lit is the red light, yet I have a full charge on the batteries. I will troubleshoot that sometime in the future, as all I did today was scratch my head about it.
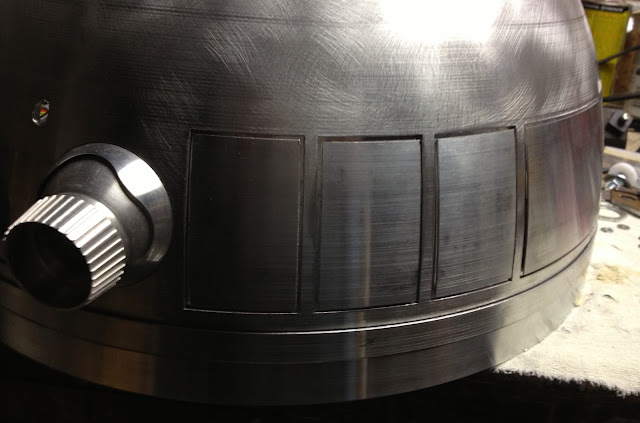
In the meantime, I got my dome bumps installed. I had purchased a pair of resin bumps a while back, and the good lads at Astromech.net suggested 3/8" lag bolts. This project took a whole 3 minutes to complete, and they look great.
I gutted the periscope housing of all of it's electronics and started working on a means of mounting the top plate. After reviewing a number of reference photos, I noticed that the periscope I own did not have the surrounds for the side light ports.
A couple of pipe nuts (and a whole lot of grinding) later, and I had a set of surrounds. The photo below shows what I started with on top, and the finished product on the bottom.
Here the ports are mounted on the side windows. This is probably something that would go totally unnoticed, but once I saw them in the screen caps, I could not live without them. Eventually, these will be cleaned up a bit more and painted white.
Next up came the task of drilling out recesses for rare-earth magnets inside the top of the periscope housing. The magnets are set in these holes with J B Weld, and they are not coming out any time soon.
Eventually, I will bond a thin metal strip to the aluminum pie panel that will hold the top on the housing. Think something about the thickness of a razor blade. In fact, a razor blade may be used in the final assembly.
After getting the servo code running last week, I decided to get to the task of mounting a couple of hinges on the dome doors. This is the first time the inner and outer dome have been separated in a while, and they came apart without a hitch.
Captive studs were used to secure the hinges to the inner dome, then a false door / backing plate was attached to the hinge.
A view from the inside of the dome showing the hinges. You gotta love the 4-40 gold blinged-out nuts on the inside. I found these at a Menards in some state during a recent work trip. I like the look a whole bunch, and will have to seek out another Menards to see what stock I can pillage at another store. Again, nothing that 99% of the general public will ever see, much less care about, but it does look sharp.
I had picked up 4 of these hinges from an Astromech.net member, and I am currently waiting for a few more to arrive so I can mount up the rest of the dome panels.
Back to the outside of the dome and the backing plates.
A little strip of Scotch super-bond double sided tape.
There we are - dome doors, mounted and ready to go. Eventually, the backing plates will most likely be mounted with VHB tape or silicone - something that can be removed if need be.
The doors do swing open, but there is a little problem with the available clearance. They don't exactly open as wide as I would like them to.... so back to the drawing board on this one - I have to think how repositioning the mounting points will effect the arc of the hinges (if at all).
There we have it, a relatively slow day - most of it spent on the grinder making the surrounds for the periscope. I am too excited about a shipment that will arrive next week. Stay tuned for the surprise !


